Discover the art of making soft, perfect chapatis at home with this comprehensive guide. Whether you’re new to Indian cooking or looking to refine your skills, this easy chapati recipe will help you create deliciously tender flatbreads that puff beautifully. With simple ingredients and proper technique, you’ll soon be enjoying homemade chapatis that rival those from your favorite restaurant.
What are chapatis? Understanding the classic Indian flatbread
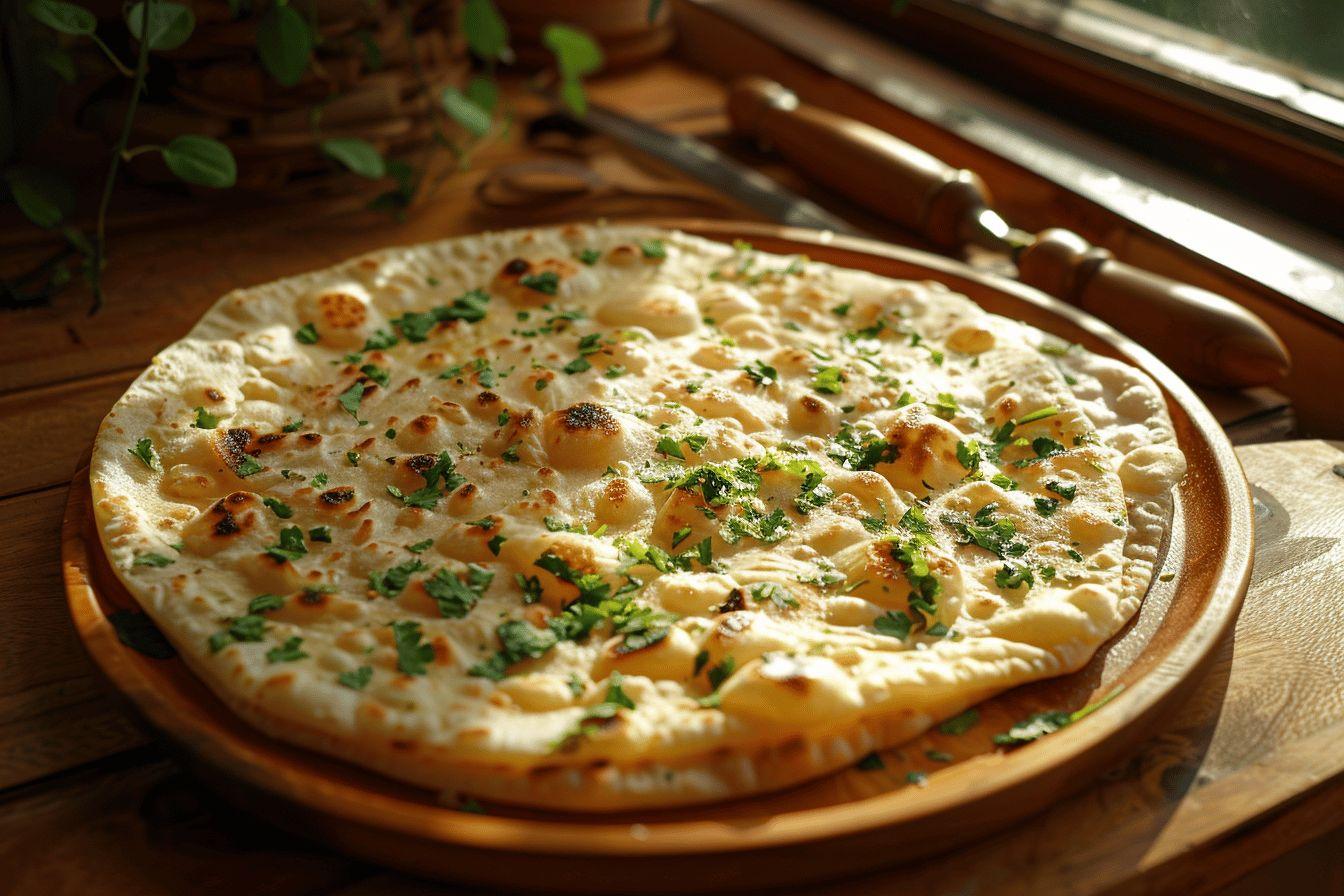
Chapati is an unleavened flatbread that forms the cornerstone of many Indian meals. This simple yet versatile bread originated in the Indian subcontinent, with its name derived from the Hindi word “chapat,” meaning flat or slap, referring to the traditional method of shaping the dough between palms.
While deeply rooted in Indian cuisine, chapatis have traveled far beyond the subcontinent. Today, these wholesome flatbreads are enjoyed across Africa, the Caribbean, and throughout the world. Their popularity stems from both their simplicity and amazing ability to complement various dishes.
Chapatis differ from other Indian flatbreads in several key ways. Unlike roti (also called phulka), chapatis are typically cooked with fats like ghee or oil on a tawa or griddle. They can take various shapes – round, triangular, or somewhere in between – while roti is always round. Pairing chapatis with the right curry dish creates a perfect meal that showcases the best of Indian cuisine. Additionally, chapatis may feature layers, whereas rotis never do. Regional variations exist throughout India, with subtle differences in preparation methods, ingredients, and even naming conventions.
Essential ingredients for perfect homemade chapati
Creating soft, flavorful chapatis requires surprisingly few ingredients, but their quality and proper handling make all the difference in the final texture and taste.
| Ingredient | Quantity | Purpose |
|---|---|---|
| Atta (whole wheat flour) | 2 cups | Main ingredient that gives chapati its distinctive texture and flavor |
| Water (warm to hot) | ¾ to 1 cup | Softens the bran in atta, creating more pliable dough |
| Salt (optional) | ¼ teaspoon | Enhances flavor |
| Oil or ghee (optional) | 1-1½ tablespoons | Creates softer texture and richer flavor |
| Additional ghee | As needed | For cooking and serving |
The quality of your atta significantly impacts your chapatis. Look for finely ground whole wheat flour specifically labeled as chapati flour for best results. Using hot (not boiling) water helps soften the bran in the whole wheat flour, resulting in softer chapatis. While salt is optional, even a small amount enhances the natural flavors of the wheat.
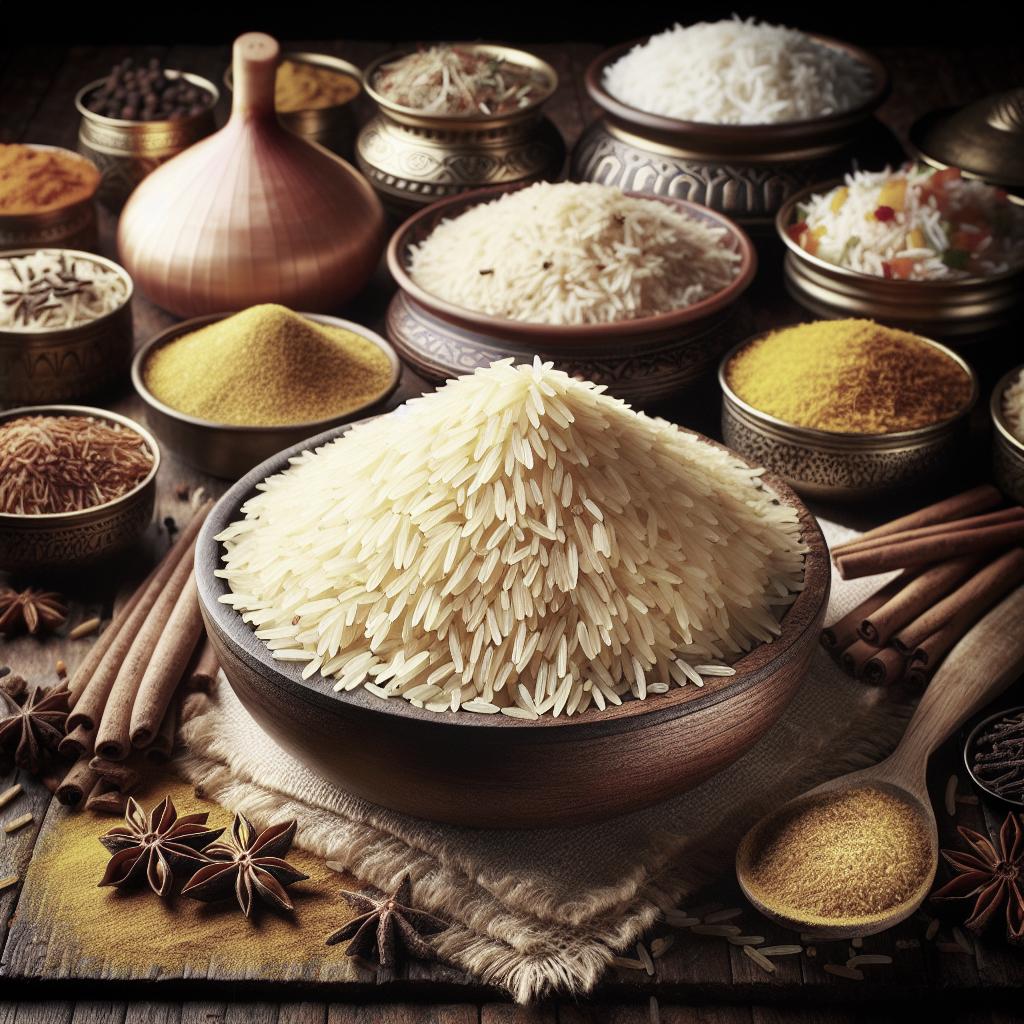
Adding oil or ghee to the dough isn’t traditional in all regions, but this simple addition creates remarkably softer chapatis with improved texture and shelf life. For those concerned about balancing chapatis with other staples like rice in Indian meals, rest assured that homemade versions offer excellent nutritional value without excessive calories.
Step-by-step guide to making the perfect chapati dough
Creating the ideal chapati dough requires attention to detail. The texture of your dough largely determines how soft your finished chapatis will be.
- Add 2 cups of atta (whole wheat flour) to a wide mixing bowl and create a well in the center.
- Add ¼ teaspoon salt (if using) and 1-1½ tablespoons oil or ghee to the well.
- Gradually pour in warm to hot water (about ¾ to 1 cup) while mixing to form a soft dough.
- Knead for 1-5 minutes until the dough becomes smooth and pliable.
- Test by pressing your finger into the dough – it should easily dent and slowly spring back.
- Lightly moisten the surface with water, cover with a damp cloth, and rest for 20-30 minutes.
- After resting, briefly knead again until the dough feels soft and supple.
The consistency of your dough is crucial – it should feel soft but not sticky. If the dough sticks to your hands, add a little more flour. If it feels dry or tight, incorporate small amounts of water. The resting period allows the flour to fully hydrate and the gluten to relax, resulting in easier rolling and softer chapatis.
Avoid overworking the dough, as excessive kneading can develop too much gluten, making your chapatis tough. The goal is a smooth, pliable dough that feels alive in your hands – neither too tight nor too loose. Perfect dough creates the foundation for perfectly soft chapatis.
Mastering the art of rolling chapatis
Basic rolling technique
Rolling chapatis evenly requires practice and a gentle touch. Begin by dividing your rested dough into 6-8 equal portions and roll each into a smooth ball. Lightly flatten a ball with your palm, then dip it in flour, dusting off any excess. This prevents sticking without drying out the dough.
Place the flattened dough on a clean, lightly floured surface. Using a rolling pin, roll gently from the center outward, rotating the dough frequently to ensure even thickness. Aim for a circle approximately 7-8 inches in diameter. The key to perfectly rolled chapatis lies in using light pressure rather than forcing the dough flat, which can make them tough.
The thickness should be consistent throughout – not too thin (which causes tearing) nor too thick (which prevents proper cooking). With practice, you’ll develop a feel for the right pressure and motion needed to create evenly rolled chapatis that cook perfectly.
Creating layered chapatis
For extra-special layered chapatis with flaky texture, try this traditional technique. Roll the dough ball into a small disc about 4-5 inches across. Lightly brush the surface with oil or ghee and sprinkle with a tiny amount of flour.
Fold the disc halfway to create a semicircle. Apply another light coating of oil and flour, then fold again to form a triangle. Now roll this layered triangle into your desired shape – either keeping the triangular form or rolling into a circle. These layered chapatis offer delightful flaky texture and enhanced softness that elevates your Indian meal.
The perfect cooking method for soft, puffy chapatis
Cooking chapatis properly requires attention to heat and timing. Heat a tawa (traditional Indian griddle) or a heavy flat pan over medium-high heat until hot but not smoking. Place your rolled chapati on the hot surface and cook until small bubbles begin forming on the surface, usually about 30-45 seconds.
Flip the chapati using a spatula and cook the second side for approximately 20-30 seconds until light brown spots appear. For the third flip, apply gentle pressure with a cloth or spatula, moving from the edges toward the center. This pressure helps the trapped steam inflate the chapati, creating that desired puffing effect.
If you’re using oil or ghee, this is the time to apply it to both sides, which enhances flavor and softness. The perfect chapati should puff up fully and display light brown spots across its surface while remaining flexible, not crisp. Once cooked, stack them in a cloth-lined container to retain moisture and softness.
The entire cooking process takes just 1-2 minutes per chapati once your pan reaches proper temperature. Avoid the common mistake of cooking on low heat, which dries out the dough before it can properly cook through.
Why your chapatis aren’t soft: Common mistakes to avoid
Even experienced cooks sometimes struggle with chapati texture issues. Hard, dry chapatis often result from several common errors. Using cold water instead of hot when making the dough prevents proper softening of the bran in whole wheat flour. The dough consistency might be too tight or overworked, developing excessive gluten that toughens the chapatis.
Rolling with too much flour can dry out the dough, while inconsistent thickness causes uneven cooking. Cooking temperature plays a crucial role in chapati softness – too high heat burns them before cooking through, while too low heat makes them dry and hard as they spend too much time on the pan.
Not allowing the dough to rest adequately means the gluten remains tight, resulting in chapatis that shrink and toughen when cooked. Additionally, using the wrong type of flour – all-purpose instead of proper atta – lacks the right protein content and texture needed for soft chapatis.
Remember that chapati-making improves with practice. Many skilled Indian cooks developed their techniques over years of daily preparation, so be patient with yourself as you perfect your technique.
Pro tips for achieving super-soft chapatis every time
- Use hot (not boiling) water when making the dough to soften the bran in whole wheat flour
- Add a small amount of oil or ghee to the dough for enhanced softness and flexibility
- Allow proper resting time (20-30 minutes minimum) for the dough to fully hydrate
- Cook on medium-high heat to ensure chapatis cook quickly without drying out
- Apply gentle pressure during cooking to encourage proper puffing and even cooking
The quality of your atta significantly impacts the final texture. Experiment with different brands until you find one that produces the softness you desire. Fresh dough always yields softer chapatis than dough that’s been refrigerated, though properly stored dough can still produce excellent results.
When rolling, use as little dry flour as possible to prevent dryness. The rolling motion should be gentle and even, applying consistent pressure around the entire chapati. Immediately stack hot chapatis and cover them to trap steam, which further softens the texture.
For extra softness, brush chapatis with ghee immediately after cooking and stack them. The residual heat melts the ghee into the layers, creating incredible tenderness and flavor.
Delicious variations on the classic chapati recipe
While traditional chapatis are delicious, several variations can add excitement to your flatbread repertoire. Herb-infused chapatis incorporate finely chopped cilantro, mint, or fenugreek leaves into the dough for fresh flavor and beautiful color. Spiced versions might include cumin seeds, ajwain (carom seeds), or a pinch of turmeric for color and health benefits.
Multigrain chapatis blend other flours like millet, barley, or sorghum with wheat for nutritional variety and interesting textures. For a richer experience, try methi chapati by adding dried fenugreek leaves to the dough, creating a distinctive aroma and slightly bitter undertone that pairs beautifully with butter.
Stuffed chapatis, sometimes called parathas, contain fillings like spiced potatoes, paneer (Indian cottage cheese), or vegetable mixtures rolled between layers of dough. Regional Indian variations offer fascinating glimpses into local cooking traditions, from the thicker Gujarati rotli to the paper-thin Rajasthani chapatis.
Each variation follows the same basic technique but introduces new flavors and textures that complement different main dishes and personal preferences.
Storing and reheating chapatis: Keeping them fresh and soft
Freshly made chapatis taste best, but proper storage maintains their softness for several days. For immediate storage, stack warm chapatis and wrap them in a clean kitchen towel to trap moisture. For longer periods, cool completely before storing in an airtight container at room temperature for up to 24 hours.
Refrigerated chapatis stay fresh for up to three days. Store them in an airtight container with paper towels between layers to absorb excess moisture. When reheating refrigerated chapatis, lightly sprinkle with water before warming on a hot pan or in the microwave for 15-20 seconds.
- For freezing: Allow chapatis to cool slightly, then stack with parchment paper between each chapati
- Wrap tightly in plastic wrap, then foil or place in freezer bags
- Label with the date and use within three months
- Thaw frozen chapatis in the refrigerator overnight or reheat directly from frozen
To refresh chapatis that have become slightly dry or stiff, dampen your hands with water and lightly pat both sides of the chapati before reheating on a hot pan. The steam created during reheating restores moisture and softness to the chapati, making it almost as good as fresh.
Perfect pairings: What to serve with your homemade chapatis
Chapatis versatility makes them ideal companions for countless dishes. Traditionally, they’re served alongside dals (lentil stews), vegetable curries, or meat dishes where their soft texture provides the perfect vessel for scooping up flavorful sauces. A simple combination of chapati with yogurt and pickle makes a satisfying quick meal.
For breakfast, serve chapatis with scrambled eggs or rolled around spiced potatoes for a hearty start to your day. Leftover chapatis transform beautifully into quick meals – tear them into pieces and toss with stir-fried vegetables and spices to create kothu roti, a popular street food.
Sweet applications work wonderfully too – spread chapatis with honey, nut butter, or chocolate-hazelnut spread for a delightful treat. Contemporary fusion approaches use chapatis as wraps for fillings like hummus and vegetables or as the base for quick flatbread pizzas.
The neutral, wholesome flavor of chapatis complements virtually any dish, from traditional Indian fare to international cuisines, making them one of the most versatile breads in your culinary repertoire.
Nutritional benefits of homemade chapati
Chapatis offer substantial nutritional benefits, especially when made with high-quality whole wheat flour. A typical chapati (approximately 6-7 inches in diameter) contains about 166-169 calories, making it a reasonably light bread option. Each chapati provides 22-27g of carbohydrates, 2-4g of protein, and 4-8g of fat when prepared with ghee or oil.
The whole wheat flour in chapatis delivers 1-3g of dietary fiber per serving, supporting digestive health. Unlike many commercial breads, traditional chapatis contain no preservatives, additives, or artificial ingredients. The whole grain composition provides essential B vitamins, iron, and other minerals that are often stripped from refined flour products.
- Whole wheat provides complex carbohydrates for sustained energy
- The fermentation process during dough resting enhances digestibility
- The minimal ingredients make chapatis an allergen-friendly option for many people
- The moderate glycemic index helps manage blood sugar levels better than refined breads
For enhanced nutrition, consider adding ground flaxseeds, chia seeds, or other nutrient-dense ingredients to your dough. Chapatis made with partial millet or amaranth flour increase the protein content and mineral profile, creating an even more nutritious flatbread.
Troubleshooting guide: Solutions for common chapati problems
Chapatis not puffing
When chapatis fail to puff, check your dough consistency first – it may be too dry or overworked. Ensure your tawa or pan is properly heated before cooking. Roll the chapati to even thickness throughout, as inconsistent thickness prevents proper steam formation. Apply gentle but firm pressure with a cloth or spatula during cooking to help trap steam and encourage puffing.
Hard or dry chapatis
Dry, hard chapatis often result from dough that’s too tight or inadequately rested. Increase the water slightly in your next batch and ensure proper resting time. Cook chapatis quickly on medium-high heat rather than slowly on low heat, which dries them out. Stack and cover chapatis immediately after cooking to retain moisture. Adding oil or ghee to both the dough and while cooking significantly improves softness.
Dough too sticky or too dry
For sticky dough, gradually incorporate small amounts of flour while kneading until you reach the desired consistency. If too dry, wet your hands and continue kneading to introduce moisture. The perfect chapati dough should feel soft and pliable but not stick to your fingers when properly kneaded. Remember that resting often improves dough texture, allowing flour to fully absorb moisture.
With practice and attention to detail, these common issues become easier to address. Each batch teaches you something new about the art of chapati-making, leading to increasingly perfect results over time.